Anyone who has a love for water in the garden will be aware of the many ways it can enhance the property and the quality of life of the beholder. Although a pond is technically a hole in the ground filled with water, it is so much more than that.
Evolution of a Pond Builder
When I first became interested in water gardening in the early 1960s, contractors would frequently bandy about the statement, “I’ll dig you a pond!” This led one to suppose that there was little to it. Dig a hole in the ground. Make it hold water one way or another, and presto — you have your pond.
At the age of 17, my first attempt at building a pond was frankly ludicrous. Concrete mixed by hand on the garage floor and plastered over a hole in the lawn served as my personal introduction to water gardening. Yes, it held water, and it was to me a magical underwater garden full of life and movement. However, the uneven concrete edges were such an eyesore, protruding as they did and glaring at me in the sunlight.
Various attempts were made to disguise these rough edges, and my second pond boasted pieces of rock set into the concrete. This did little to improve the aesthetics or make the pond appear more natural. Quite to the contrary — it resembled a row of teeth set in concrete gums.
As I drifted into my career of water gardening, I would observe the methods adopted by other builders. It seemed that most of the effort went into construction, and then attempts were made, almost as an afterthought, to hide the edges by placing rocks to overhang the rim. However carefully executed, the naturalistic effect was completely destroyed by the thin, telltale rim of concrete showing beneath the rockwork.
The plants were the saving grace. I had a passion for water plants and loved their habits — the way a waterlily bud would rise closer to the surface each day, or how a candelabra primula would unfurl its unblemished, bright green leaves out of the blackest ooze.
A very simple observation taught me that the nature of a body of water is entirely defined by its edges. Without seeing the shoreline, it could be almost any shape — a formal pool, a natural pond or even a sewage plant. Despite visible aquatics or reflections to give us clues, one still cannot be sure. The edge is the key.
Formal ponds were far easier, as they were obviously constructed by the hand of man. A well-executed edge in brick, stone or even concrete or stainless steel could be precise and most pleasing to the eye. Naturalistic ponds, however, left so much to be desired.
Eureka!
Having struggled for several years to disguise pond edges, my eureka moment hit me in the bath. (After all, most of my best ideas come when I am immersed in water.) I had been working on a series of carefully shaped rock pools for a customer and attempting to follow the inside edges with rocks. It had soon become a nightmare in time spent and a hemorrhage of money — my money, since it was a fixed-price job.
I thought to myself, “What am I actually trying so hard to achieve?” I was trying to create ponds that permanently held water and then place the rocks where they dictated they should go. In order to match rocks next to each other in a realistic manner, they need to be joggled and adjusted in different directions. Therefore, flexibility of movement is essential. The pond should be, simply put, a waterproof bag into which everything else is placed.
Once this was fully understood, I could set about adapting the concept to formal or naturalistic ponds, streams and waterfalls alike.
The shape of the outside rim was now far less important. Now I could make a simple excavation, which should include the deep part of the pond at the maximum proposed depth with a wide, level ledge around the perimeter. The size and depth depend on the proposed design. However, using concrete or a flexible liner, this ledge can now accommodate the desired edging material and be arranged in any way necessary.
The Rock Edge
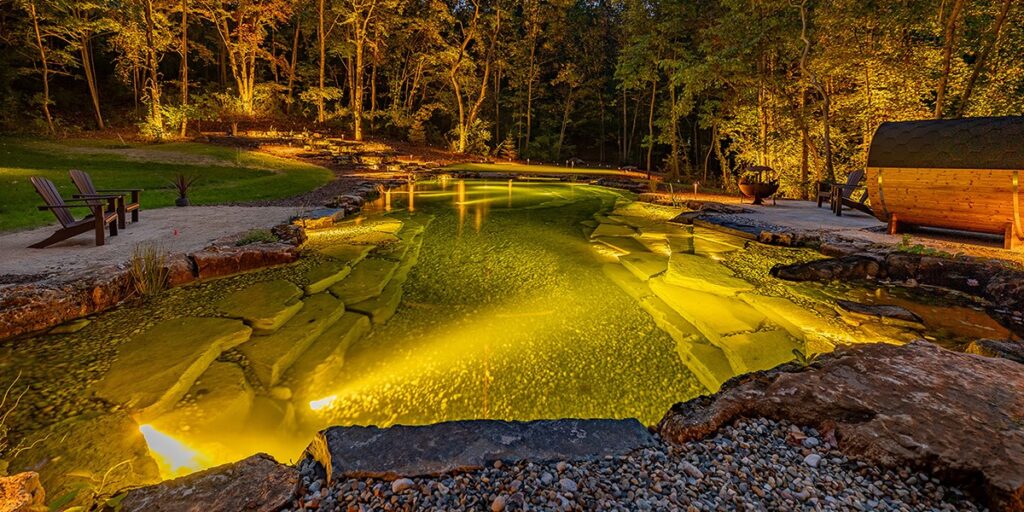
With the rocks sitting on the ledge and partly submerged, the inside edges will be visible. Any construction material showing beneath a rock would instantly give the game away, so to speak. Furthermore, with the freedom of expression that this technique affords, one can create rocky outcrops to accentuate the promontories and bays for emergent planting. Having established the rock placement as creatively and naturalistically as possible, one can address the back of the rocks and planting areas.
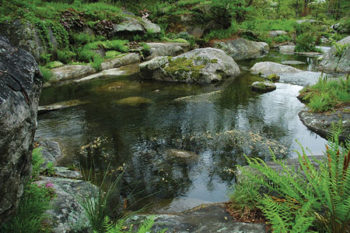
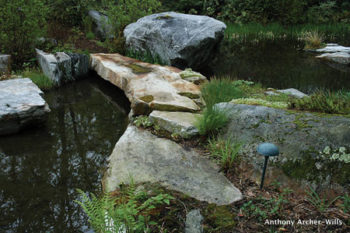
Complete freedom of expression is achievable by making the pond larger. In this series of rock pools, it is obvious that the pond is just a “waterproof bag” into which all the wonderful complexity of nature can be arranged. Next, this stone bridge has been carefully angled to create a smooth rhythm to the composition, with the actual pond rim kept well back and covered.
For ponds and streams using a flexible liner, this has merely to be lifted up and secured behind the rocks. However, with a concrete shell, the voids between the back of the rocks and the walls need to be filled with gravel. To create hydric planting areas, use soil instead. It is essential to bring whatever medium is used right up to, and slightly over the tops of the rocks. They need to appear to protrude out of the ground as though they are exposed by the lapping of the water. Again, if any of the back is exposed, the rock is seen as a finite size and not part of the surrounding geology. In any rock placement, one needs to create the “tip-of-the-iceberg” effect. By burying a portion and leaving the most suitable part exposed, the rock will seem larger.
Between the rocks, sloping beach areas can be formed using pebbles or pea gravel. On large ponds, extensive beaches are suitable for children to play or just for sunbathing. These are very easy to construct and are a simple and cost-effective way to hide a liner or concrete shell.
The Hard Edge
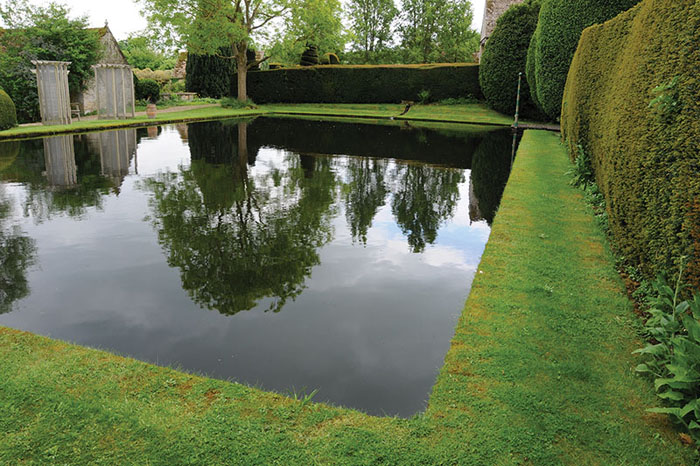
A solid architectural edge can be applied to any pond, whether formal or naturalistic. With formal ponds, it is likely that the entire perimeter will be made of solid materials. There are too many to list here, but whatever is used, there are certain aspects to bear in mind. A brick or stone edge, for example, will be faithfully reflected in the water. Therefore, the image will be doubled. The edge must be precisely level.
With a straight-sided pond, if an edge is even slightly off level, one would get a hideous chevron effect. Rounded shapes are almost as bad. (My first pond resembled a lop-sided birdbath). Be careful with low walls of 6 inches or less; they could appear to be a foot high, visually overpowering a small pond.
Whatever material is used, it must be suitably installed to suit the climate of the region. This may involve foundations 2 feet or more below the water surface. Sometimes in areas subject to extreme cold, I have avoided the risk of damage by frost heaving or cracking and kept the whole construction flexible. This is simple with a liner, as one can lay heavy blocks of stone or concrete on a suitably protected, level base; then, the flexible pond liner is brought up behind it and backfilled with fine pea gravel. The whole assembly can heave about, and no damage will occur.
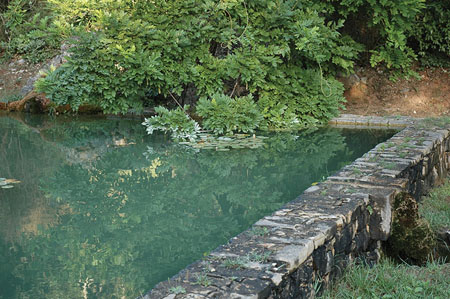
I am very partial to extend the lawn to the water’s edge in at least one part of a naturalistic pond, and sometimes completely around a formal one. This can be achieved using hollow concrete or engineering bricks set within the waterproof membrane. It makes for solid, firm ground right up to the edge, and yet the grass can still drink, with its roots down into soil within the hydric blocks. They are laid down in the same manner as any other hard edging. It is good to be able to come right up to a pond without getting bogged down or wet feet. It also enables the lawnmower to get closer. Eventually, the edge will form a lovely, mossy nose and be almost maintenance-free.
The Planted Edge
Formal ponds call for formal planting, and it is best to create ledges specifically for this wherever emergent planting is planned. A low wall can be constructed for soil containment, or well-designed planters can be placed where desired. Strong, architectural foliage like iris works best and will complement the structure. Try to avoid creeping plants that like to roam, such as Menyanthese trifoliata (bog bean).
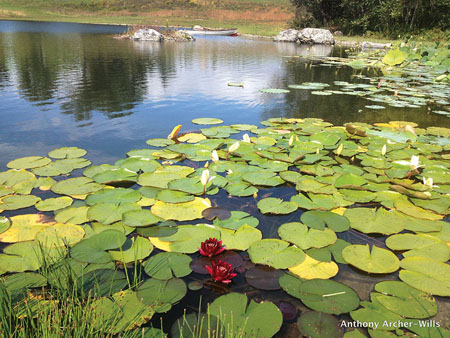
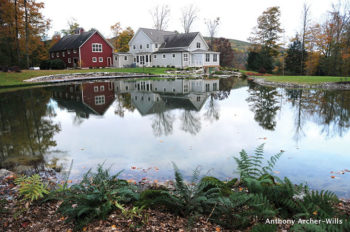
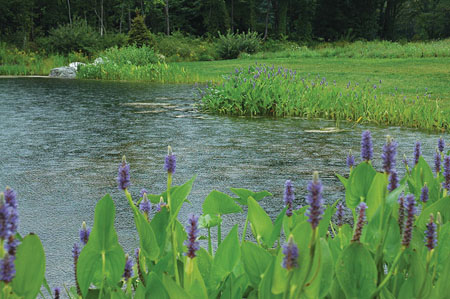
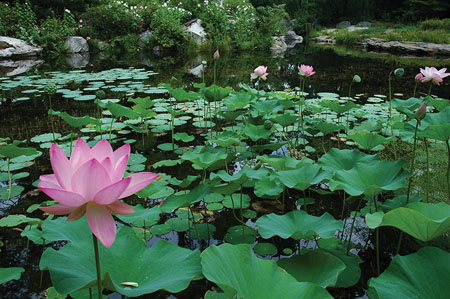
For informal and all naturalistic ponds, this is where aquatic planting comes into its own. Apart from rocky outcropping or glacial boulders, most natural ponds will have extensive shorelines of native plants. I love to see mass plantings, as they read well when seen from the opposite shore. One can try to emulate nature by planting bold clumps, and their reflections will reward you greatly. Aim for good foliage contrasts, but they must be in large masses, or it will just look spotty. You could try Acorus calamus (sweet flag) beside Caltha polypetala (giant marsh marigold), and for striking contrast you could add Colocasia esculenta ‘Black Magic’ (elephant ear). Make sure the combinations you choose are suitable for your temperature zone.
The soil can be extended up from the planting ledge along a gentle slope to meet the surrounding ground. Water losses through the capillary action of wet soil wicking into dry surroundings can be minimized by including an inconspicuous coating of gravel along the apex of the pond rim. This seamless transition from water to dry land allows for a huge range of aquatic plants, from deep-water emergent to bog and moisture-loving subjects. The water’s edge can then become a magical place to explore. New shoots will rise pristinely from the mud with successions of flowers throughout the season. The pond will be enhanced with dragonflies, butterflies and amphibians. Great biodiversity in both flora and fauna will have been created.
The Rule of Three
 Finally, when designing pond edges, try not to exceed three different types around the same pond. Just one type of edge would be fine for a formal pond, and it could be lawn, paving or even timber decking. However, with informal water shapes, many combinations are possible. Again, the combination of rock, lawn and pebble beach is effective. Timber deck, bog planting and wildflower meadow is also beautiful. Just two can work well, but don’t exceed three, or it will look fussy and more like a garden center exhibit!
A mossy log trailing down into the water can add a touch of realism and beauty, while providing a safe launching ramp for small creatures. Close your eyes, bring to mind what you have seen in nature and use your imagination to create the perfect pond edge for your yard.


