
When designers don’t pay attention to the needs of the system that keeps it healthy, Mother Nature tends to take their designs in a different direction. I’m still being asked to assess formal pond designs that are not optimal for live fish and plants, so I wanted to take an opportunity to go over some functional do’s and don’ts of basic formal design and why. These do’s and don’ts also apply to garden designs, but I’d like to focus on the aesthetically formal system. These designs largely come from architects who, when designing chlorinated reflecting pools and formal swimming pools, don’t have to consider anything but the visual image in their imagination and how it relates to the surroundings.
Function Over Form
When designing a living-water system, function over form should be the norm. That doesn’t mean that an incredible aesthetic form isn’t doable, but making it function properly should be taken into consideration. Function is about creating a healthy home and life support system for the animals that live there. In addition to fish, those “animals” also include the bacterial colonies in the filtration system and the biofilm layers that form over every surface of the system in contact with water. This biofilm layer is comprised of multiple layers of different substances and bacteria, creating a community that serves as the foundation upon which surface algae grows. This is the natural, healthy coating that Mother Nature places over the surface to create the life-support system necessary for a healthy environment.

Layout Determination
The first two considerations that should be applied to your design are how it will be oxygenated and how the system will stay clean. There have been many articles in this magazine and others that focused on oxygenating a pond, so the information is readily available. I’m trying to express the concept of not making it an afterthought in the design. In-pond oxygenation is usually accomplished with diffusers of some sort that create fine bubbles. Diffuser discs on top of bottom drains are common, and with undergravel systems, aeration tubing in specific areas is a good solution.
Keep aeration away from the front of a skimmer face, as the bubbles inhibit the smooth flow of surface water and debris into the skimmer mouth. An oxygenated biofilter such as a moving bed, air-driven dilution reactor or shower filter is always a plus because you get real-time, continuous oxygenation without any in-pond disruption. Plus, they don’t have to be placed on timers. Filters such as these are usually gravity-flow, and the plumbing design must be taken into consideration when using them.
The next consideration should be maintenance. You must determine how or where the discharge water will leave the filter area. This could be a sewer connection or flooded landscape, for example. If the filter area is in a room underground or inside the walls of a home, this issue must be dealt with in consideration of living space.
Outflow Circulation
Designing a disappearing edge as a skimmer is very popular in formal designs for pools. This is always a maintenance problem with a pond, because the biofilm growth disturbs the clean edge and must be scrubbed clean regularly to keep the edge flowing properly. A disappearing edge also requires much more flow than the pond requires and is a waste of energy on a living system. Never tee skimmer piping together at the pond to bring water out to filtration as one pipe. Instead, run separate pipes for each skimmer and tee them together in the filter pit, so each line can be flushed and balanced separately. This is different from pool plumbing, where the common practice is always to tee multiple lines together under the pool.
>> More best practice articles on motors, design and filtration challenges.
Remove water from the bottom of a pond with bottom drains or an undergravel grid. An undergravel grid is already VGB (Virginia Graham Baker) compliant, so to speak, because it is a series of inlet pipes teed together and covered with a layer of medium-sized river pebble. Bottom drains are often treated like swimming pool drains, where they are teed together under the pond, and one line is piped to filtration. This is always a huge mistake in a pond. Unlike a pool, ponds move waste products created by the fish and plants. These waste products can settle on the bottom of piping and build up around debris like pine needles and leaf stems, or on the biofilm growing inside the piping. Pond drains have an open outer edge, unlike screened or grated drain covers in a pool. Pool drain covers are designed to keep the big stuff out, whereas pond drains are designed to pull everything through and allow trapping later in prefiltration.
Each drain line should be separate and joined together in the pump pit before prefiltration. When the pipes are teed together under the pond, one line will always be favored over the other. This can be created by the plumbing layout, or as one line before the tee gets slowly restricted, the water simply will be pulled from the other drain with no way to tell it’s happening. If one skimmer is flowing more than another, it’s easy to see as a difference in surface flow.
If one drain is clogged or restricted, it is difficult if not impossible to notice it below the surface. By running separate piping, each drain can be shut off temporarily during maintenance at the filter or pump. This allows you to pull water directly from each line, cleaning the pipe with the increased flow demand. If one drain or pipe is clogged, flow will be restricted and noticed during routine maintenance. The restriction is usually flushed through by the increased flow. Keep the drain piping at 3 or 4 inches, and not smaller. Don’t use any hard 90-degree fittings; plumb with DWV-style sweep fittings so the lines can be cleaned. Place a cleanout on each line just before the valves in the filter area.
Return Lines
Returns are best accomplished with a manifold in the filter area with separate valved lines back to the pond. When this isn’t possible, a large diameter loop or plenum manifold can be used, with the smaller return lines teed off it. Returns on a loop or plenum manifold can be easily adjusted or balanced by slightly restricting the outlets that flow the most, forcing water to the outlets that flow less. Place the returns in positions that allow a slow current to be created in a rotating pattern. Make sure there aren’t any dead spaces, and keep in mind that sweeping the floor and corners is more important than returning the water higher. The motion created at the floor will transfer through the water column to the surface, but in most cases, a couple of surface returns can also help, depending on the shape.
Next, seal the shell. As a designer, you must consider the sealing surface. All types of concrete crack and must be sealed. In a living system, a flexible, plasticized coating is always best because the biofilm and algae layer will spend all its lifetime etching away at the surface. A quality flexible or plasticized coating will not crack over time as the concrete cracks and moves. This is especially important in shells that are not one monolithic pour or shoot. Many times, the feature has a floor and walls that are part of the foundation of the home or a planter box.
These are created separately, creating cold joints that will move over time. A flexible coating will allow for this and not crack or separate as the concrete sections move. Of course, my favorite sealing surface is polyurea, but there are other types in the market also. All flexible coating must be applied over a smooth surface for quality control. Specify a bond coat of some type over the concrete and the seal coating over that.
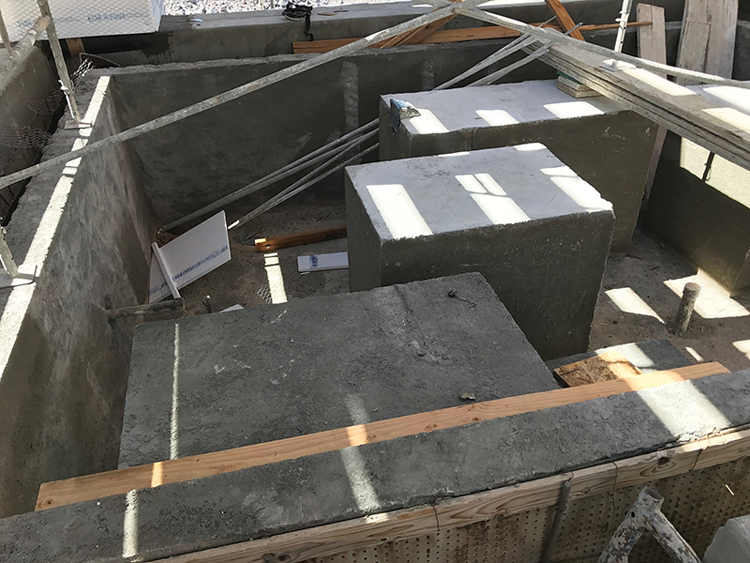
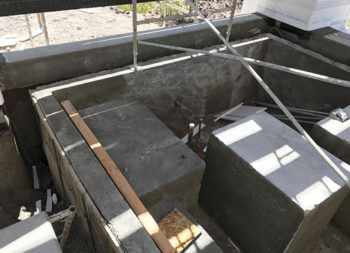
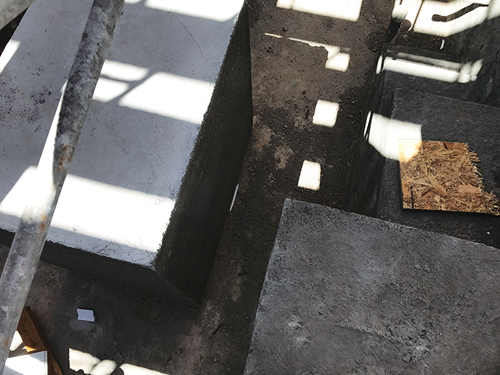
Manage Obstructions
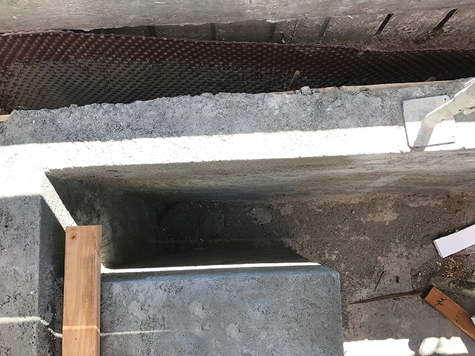
When creating a floating-stone look as steps across the feature, don’t place the steps on large blocks. Large blocks restrict circulation and make sealing the surface more difficult. Use rounded pillars whenever possible. Smooth, rounded pillars are safer for the fish and are easier for the fish to swim between. I have seen designs with only 4 to 6 inches between pillars, leaving little room for fish to swim between them safely. The fish are less likely to scrape themselves when more space and rounded surfaces are present. A scrape on the side of a fish is an invitation for a bacterial infection.
A poorly designed or laid-out shell creates a multitude of problems for the life-support system and the residents that must live with it. A good designer will do everything within his or her power to make the shell workable for everyone else involved in the project.

