I had an epiphany in August 2014. I was a fledgling pond builder, having started Aquatic Edge in 2010. Those first few years were spent splitting my time between my new venture and working full-time for a local landscaping company. I had been dabbling in pond work for a couple of seasons without any prior experience with higher-quality custom koi ponds.
Up to this point, I was extremely lucky to have avoided some of the common pitfalls of a new pond builder, like overextending finances or getting in over one’s head on a complicated project.
I felt like there was more to this pond thing, though. I needed to learn more, so I did some online searching. During this timeframe (2010 to 2013), there weren’t many pond contractors producing consumable internet content, but I came across two good ones in Mike Gannon (Full Service Aquatics) and Eric Triplett (The Pond Digger).The video content they were graciously sharing with the world provided me with some very beneficial information and direction during these early years of my career.
In 2014, I met another local pond builder who introduced me to his distributor, Paul. Shortly thereafter, Paul graciously invited me to that summer’s Pondemonium conference put on by Aquascape. It was during the bus-driven pond tour that I had the most significant epiphany of my pond-building career.
During that bus tour, I saw a plethora of ponds and waterfalls in residential backyards of all sizes and budgets, and all were so much nicer than anything I had ever seen in my local area. I took pictures, videos and mental and written notes. It was difficult to comprehend at first — I mean, it was immediately obvious that these features looked better than any others I had ever seen. But what took me some time to decipher was, why did they look better?
no images were found
Related Article| Case Study on Muck, Debris and River Rock
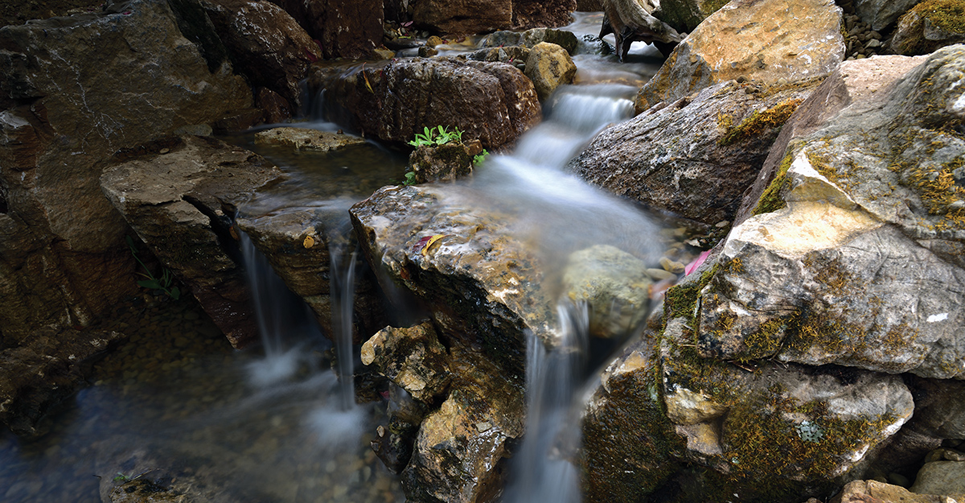
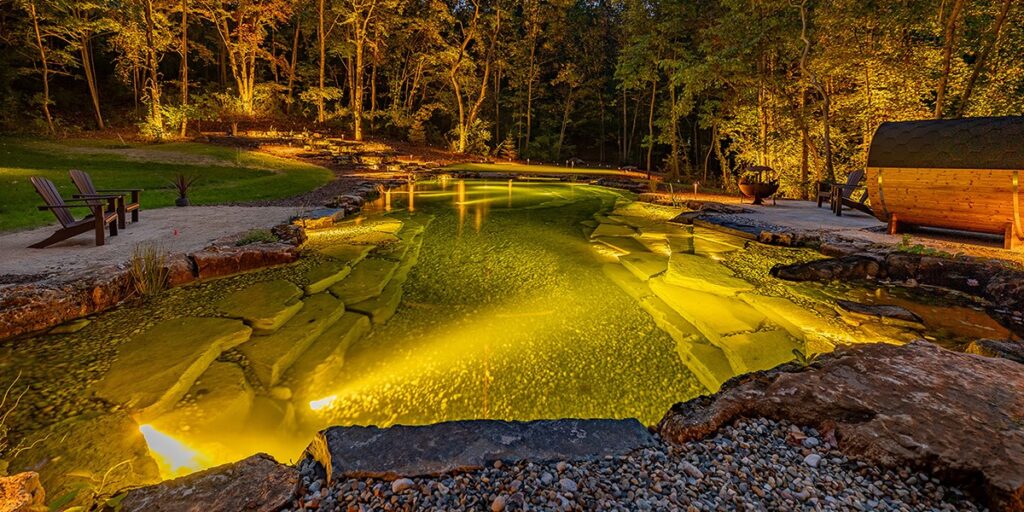
When I returned home later that week, I studied my photos, videos and notes and soon came to the conclusion that I was after. The major difference was indeed the rock selection and placement. If, like I was, you are trying to take the next step in creating more artistic water features, you should try this method. It worked for me!
Your Own “Eureka!” Moment
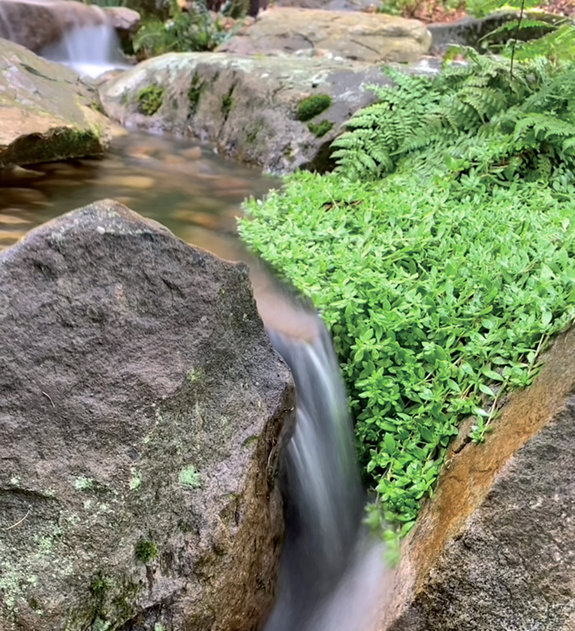
Find a photo of a pond or waterfall that appeals to you and was built by someone you look up to artistically in this industry. Next, put a photo of one of your ponds next to it and start studying the differences.
Chances are, you will notice many of the same things that I did if you focus long enough. The rock joints are different. The size variability is different. There are more purposeful angles and sight lines throughout the feature. The way the waterline touches the rocks, the way they are staggered behind each other to eliminate stacked lines — it’s all different. So many simple differences can add up to an overarching significance that culminates into your own “Eureka!” moment.
You see, building a pond isn’t just about stacking rocks together so they “fit.” Artistically, they need to blend, or even nestle together if you want to achieve the ultimate naturalistic look.
Rock Placement 101
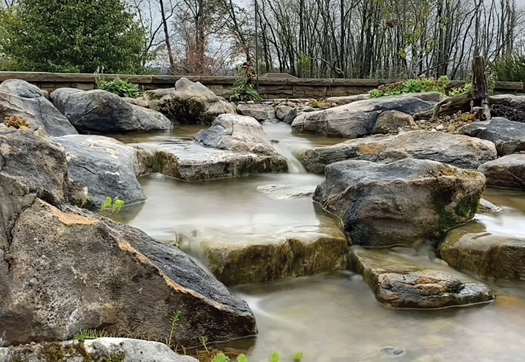
Use a blend of sizes, but don’t just think about small rocks and large rocks. You’ll want to have a wide range of sizes — mini, small, medium, large, extra-large and XXL. A wider variability in sizes will allow you to nestle the rocks together in a more natural arrangement.
Speaking of nestling, always do your best to hide the bottoms of your rocks. Staggering rocks behind rocks always looks better than stacking rocks on top of rocks. I make it a point to hide as many bottom seams as humanly possible when placing rocks in our features.
Next, let’s talk numbers — not in terms of dollars, but in terms of rock quantities.
Can I Have Too Many Rocks?
Of course, you can! There’s a simple reason why this trap exists for us pond builders. Rocks are the building blocks of what we do. We practically have to use rocks in many areas of our projects. Building vertical walls and pond edges, rocking in waterfalls — it’s all a necessity.
Now, consider some of the other things that rocks are good for — anchoring slopes, holding down and hiding liner, hiding filtration system components, creating steps and pathways, combatting erosion, etc. It’s easy to see why a water feature can get “rocky” pretty quickly. If you feel you have too many rocks within and around your pond project, find some areas where you can replace multiple smaller rocks with one larger rock. More often than not, this will work quite well. Also consider that a group of three rocks nestled together usually looks better than a group of seven or more rocks jumbled together within the same-sized footprint.
Can I Have Too Few Rocks?
Absolutely! Have you ever heard of the pearl-necklace effect around ponds? It’s like the cardinal sin of artistic pond building — a ring of similarly sized rocks placed around the perimeter of a pond or a soldier course of rocks outlining a stream, for example. All are placed with no sense of character or beauty — they just sit there in their straight line without offering any positive aesthetic value.
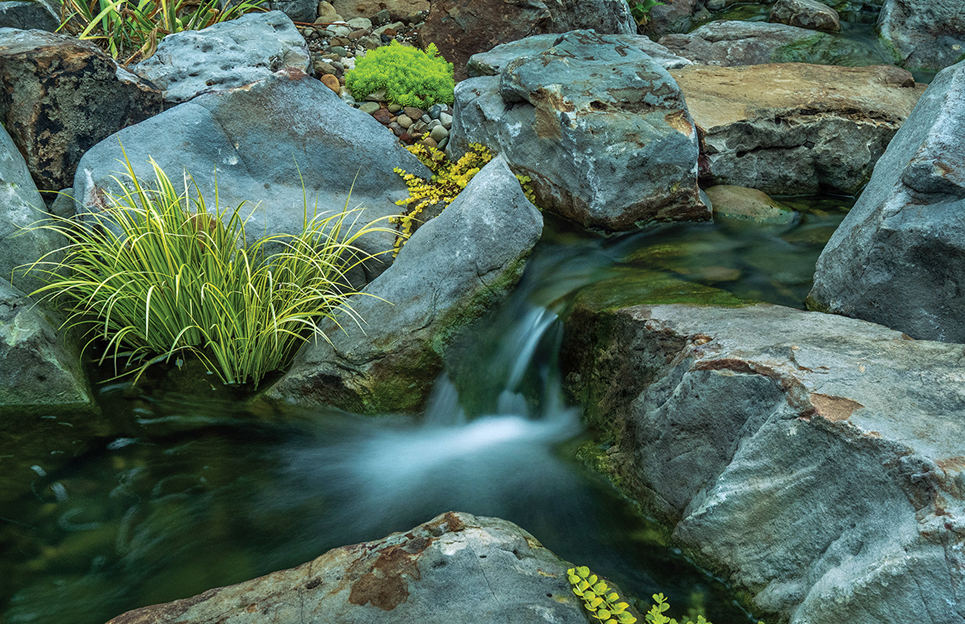
If you find yourself faced with this issue — and don’t worry, we’ve all been there in the beginning — try removing many of the necklace rocks and replacing them with rocks of varying size. Then, throw in some larger outcropping rocks with a few small plants to help blend the surrounding area.There’s a beautiful, perfect, gray area between “too many” rocks and “not enough” rocks. Once you find and get into that zone, stay in it and never leave!


A very Informative article on enhancing pond building skills with rock placement. your journey is amazing and very inspiring. The way that you wrote the article is Interesting.
Thanks