What do you do when a client loves his koi but also likes to change the design of their pond too often?
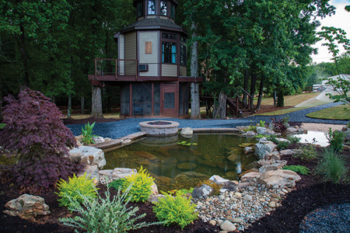
Case in point, a customer wanted a natural looking pond with natural stone and a waterfall and he had that pond for many years. However, his growing koi moved him more toward a traditional koi pond. So I asked if he wanted to be my guinea pig since I had an idea for a custom-made steel water feature with a built-in planter for a Bonsai.
The client said sure and we designed and built the koi pond for him. Fast forward 5 years later, this client wants a new pond with a more modern design and aesthetic. As we discussed the possible designs for the new koi pond, the client asked about future enlargement and/or moving to a new home. A typical answer would have been, “We will need to tear it all out and build it again,” right?
I have known this client for many years so I told him that I would think about possible design options to lessen the cost of future changes. After a few weeks of kicking around ideas and sketches we came up with a modular design approach for the koi pond and water features.
The concept was to design and build the pond in a manner that it could be added onto or removed, hauled away and reinstalled with minimal material waste, time and labor, etc.
With so many years under our belt, FWG Designs came up with a modular design, and designed concrete pond-wall panels that would interlock onto each other. This designed allowed us to build the panels off site.
As we assembled the multiple forms, we adjusted the design as we went along to allow for VPRs, recessed mechanical surface skimmers and chase lines for the underwater lighting system, among others. We used smaller front-access skimmers since we didn’t want to have the access lid visible and interfere with the coping aesthetics. The smallest skimmers that would work require a 6-in. wall thickness, so we decided to make each wall panel a maximum of 4 ft. x 3.5 ft. wide to try and keep the weight of each panel to a minimum and create a pond measuring 7 x 14 ft. and 4 ft. deep.
A jig allowed us to place the stainless-steel hardware into the forms that would make sure all the panel’s anchoring system would align with each other after we poured the wall forms with reinforced concrete.
Fire Feature
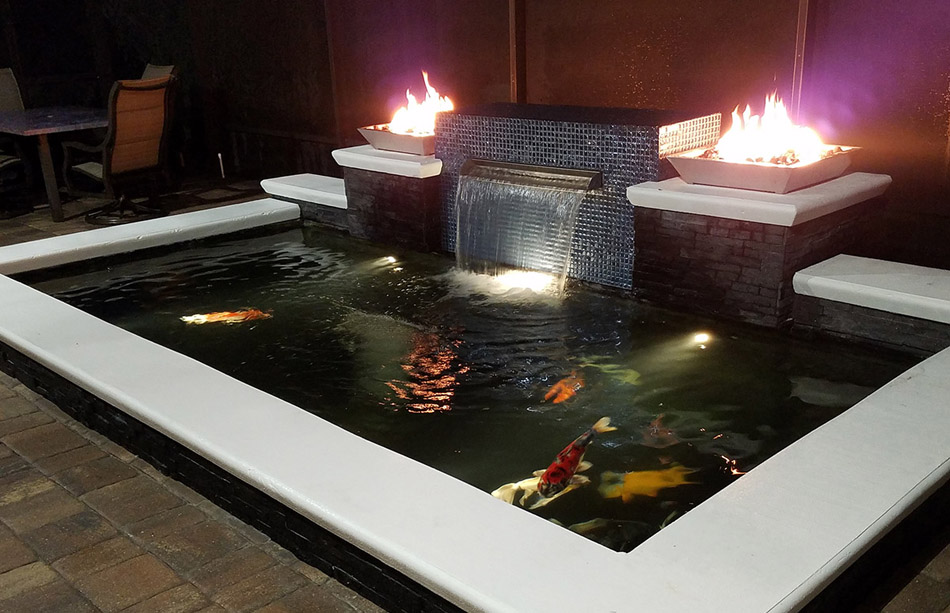
Once the concrete koi pond panels were done, we moved onto the water feature wall with the fire feature. For the tile structure that would house the waterfall weir and the propane tank, FWG Design designed and built a housing for the waterfall weir and the propane tank that would allow for transport without cracking the tile work and allow for proper ventilation for the propane tank. Plus, easy access was needed to replace the propane tank.
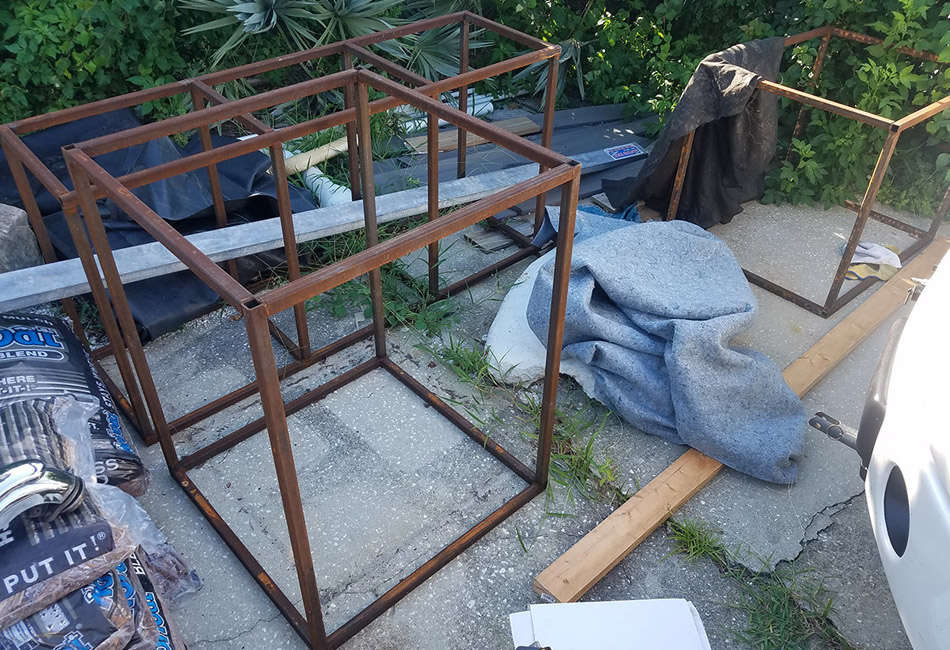
A steel frame substructure allows for the attachment of pre-tiled panels and once the steel sub-frame was welded, it was then powder-coated for longevity. The panel tiles were sealed to prevent moisture penetration and future degradation and used a flexible compound that would allow for movement of the panels without cracking. We decided to do the grout work after the panels were installed onto the steel sub-frame at the job site.
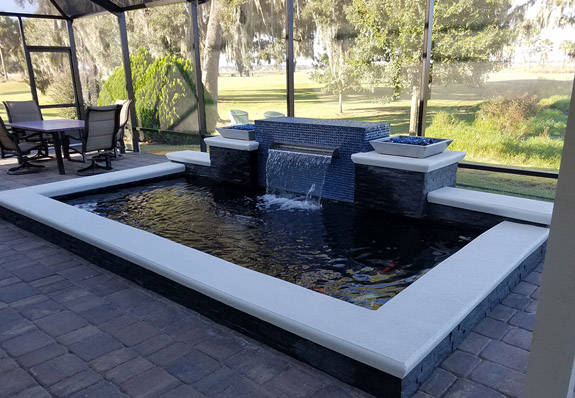
Once all the pieces of our modular “Lego puzzle” koi pond were complete, the installation began. FWG Designs excavated the pond, installed the bottom drains and formed the concrete footer. On this build we had to have a perfect level footer throughout because unlike a concrete block wall that allows for adjustment between courses, our solid panel walls would not. This footer also required a recessed area to “lock in” the wall panels and prevent movement at the bottom of the wall panels after construction.
Once the footer dried, we began the installation of the concrete panels. Installation and attachment between panels was pretty easy with just a little grinding here and there. The small abutment joints located between panels were filled with a flexible expansion joint compound to create a complete smooth surface for the installation of the underlayment and liner.
Next the underlayment and EPDM liner were custom cut and seamed to avoid any folds for a clean-liner installation. The EPDM liner was cut and sealed onto the bottom drains, VPRs, underwater LED lights and skimmers. The water feature’s substructure was then attached onto the wall panels and the pre-tiled panels were bolted onto the steel substructure and tile panels were sealed at the seams. The precast coping sections, which were pre-formed and poured, were fitted onto the top of the pond walls and the crew trimmed as needed and painted.
Then, FWG Design applied a natural black stone veneer to the exterior of the pond walls that extended above grade.
Once the pond and water feature structures were completely installed, the gas plumbing to the fire features was installed that offered a battery operated igniter for ease of firing up the fire features with the push of a button. The filtration system was set and plumbed, which included a pressurized biological media filter, an ultraviolet sterilizer, an aeration pump and an external pump with a manifold to independently control the water flow to the waterfall weir and VPRs.
The client’s koi were placed into the pond, the gas fire features and waterfall were fired up and our “new” current client was all smiles!
Overall the project went as planned and we learned a lot from this design and have made a few changes since then. We recently installed our 3rd variation of a modular design and each version since this first modular project has been designed to be easier to build, lighter, easier to transport and assemble. We are incorporating multiple viewing windows on our next modular project that is coming up in the spring of 2022 so stay tuned.


