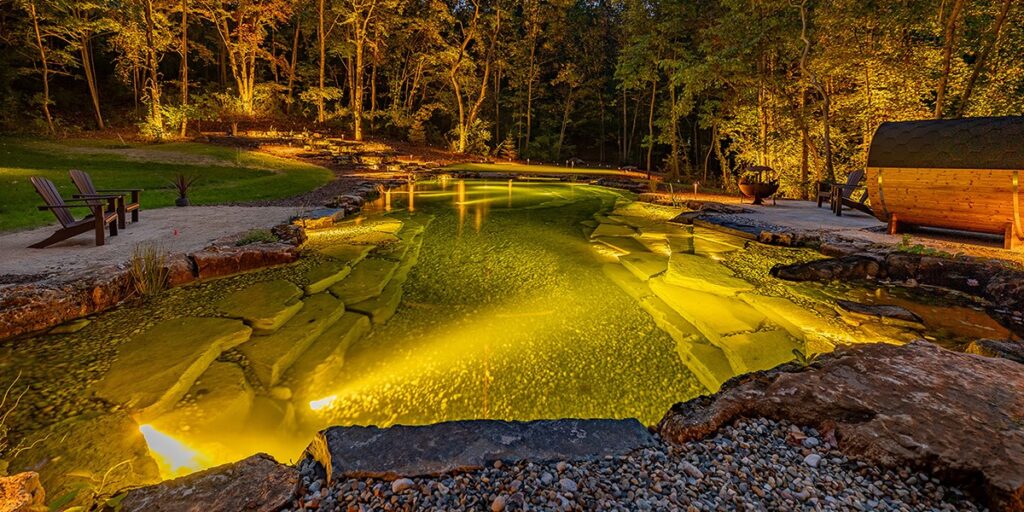
Two years ago, I was contacted by a retired couple about helping them design a pond at their home. Having never built a pond before, Bruce wanted to build it himself. He had grand ideas but said he needed advice, equipment and a lot of guidance. The home was in Mountain Springs, a summit area on Highway 160 south of Las Vegas, linking it to Pahrump, Nevada. The altitude there is 5,490 feet and, unlike Las Vegas, it freezes heavily in the wintertime. Bruce didn’t necessarily want koi — but a desert trout pond. His goal was to bring in local trout and create a habitat.
Not Your Typical Desert
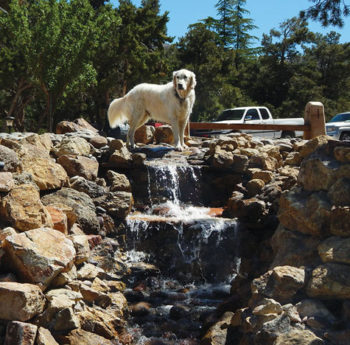
The property was beautiful with lots of high-desert trees, including pines and an orchard. A 9-foot drop behind the home toward the rest of his property was where he wanted the waterfall to go. He wanted two ponds, with the upper pond on the same level as the back of the house and a waterfall dropping to the larger pond below. I calculated somewhere around 8,000 gallons as a general design capacity to shoot for. With the temperatures at the summit relatively cooler than those in Vegas, and having the large waterfall, we could keep it close to a one-time-per-hour turnover rate.

Design Goals
With a basic layout established, it was time to design the system. Water from the pond bottom would flow through two 4-inch, non-aerated bottom drains to a Wave 36 220-gallon settlement tank with a 24-inch static prefilter. I chose non-aerated bottom drains because I didn’t want to pull the warmer water off the bottom and blast it to the top when the air came on in the winter. The in-pond aeration is done with two aeration sticks on each side of the pond between the waterfall and the beach entry. The air sticks, which are made with aeration tubing, are located on the plant shelves just below the surface. This position keeps the aerated water from disturbing the surface flow in front of the skimmer on the other end and will keep the surface from freezing solid in the winter. For the skimmer, I recommended a Helix with the fish-safe circular weir.
The pump vault is dug into the ground a couple of feet deep to protect it from the cold. The pump vault has an insulated lid. The settlement tank, pre-filter and skimmer are joined at the front of the pump intake with isolation valves. A 3-inch line from the prefilter and a 2-inch line from the skimmer connect to a Wave II ½-hp pump. This pump flows at just under 8,000 gph at 10.39 feet of head using 5.87 amps.
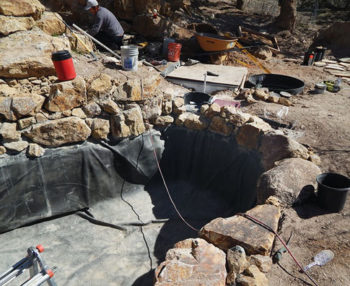
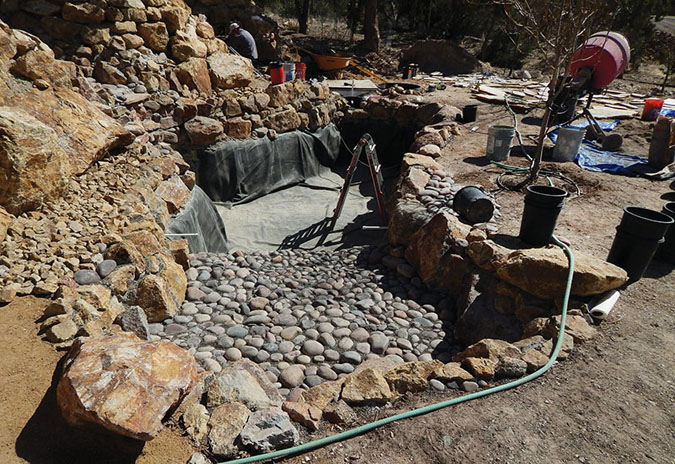
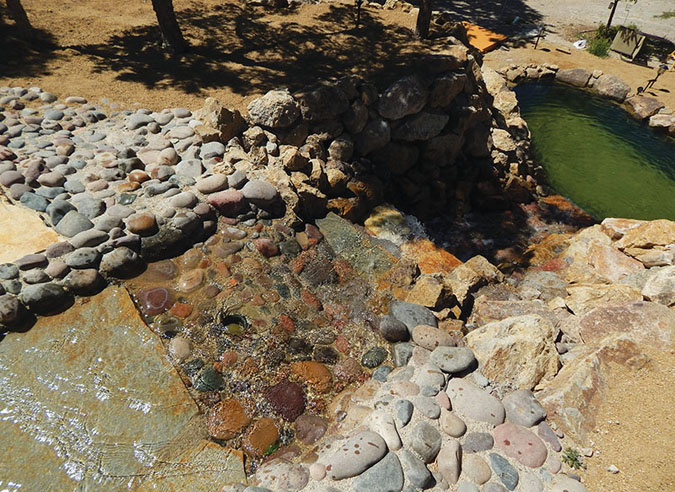
]The south end of the pond, left, houses the mechanical part of the pond. The upper pool, right, has the 55-gallon-drum sand and gravel filters.
One 3-inch line runs from the pump to the top, where the biofilters are located. A 3-by-2-inch tee is located just off the pump inside the vault to divert water directly back into the pond through a pair of tangential pond returns. These can be adjusted for light circulation in the summer and for heavier bypass flow during the colder months. A Medo 80-lpm air pump is located inside the pump vault with a timer for the aeration sticks.
“Trough-Drain” System
Upper ponds are always an issue when it comes to proper circulation and drainage. Typically, without an active bottom drain, an upper pond becomes a giant settlement tank. Aeration can be used to circulate bottom water in an attempt to move solids over the spill, but I like to use my “trough-drain” system. This is a way to create an active bottom drain in an upper pond with no moving parts. When a dual-pond system shuts down, water in the upper pond will lower to the height of the spill and stop. This is usually about a half inch, depending on how well the spill stones are sealed.
In a trough-drain system, the upper pond bottom drain line comes up just on the outside of the spill into a trough that is constructed with a secondary spill located 1 inch below the first spill. This trough creates a gravity-flow split between water levels of 1 inch. A 3-inch line will flow approximately 1,800 gph at a 1-inch difference, and a 4-inch line will flow approximately 3,600 gph.
We used a 3-inch bottom drain on the upper pond, which means that with a flow of about 8,000 gph, 1,800 gph will flow from the bottom drain, with the rest flowing over the upper spill and creating the waterfall. When the water is shut down for any reason, the upper pond lowers 1 inch and stops. When running, the trough-drain system creates an active-bottom drain flow hidden within the total waterfall flow. I’ve used this system many times in the past, but Bruce decided not to build the trough. He simply let the water exit 1 inch below the spill on the waterfall face, and it worked beautifully.
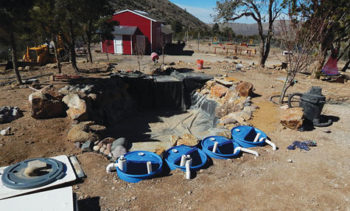
Filtration Success
For biofiltration, we used four upflow sand and gravel filters built with my kits. I like these because they’re very versatile. The 3-inch line comes up from the pump and splits with valves to each biofilter. Each 55-gallon-drum sand and gravel filter can flow a maximum of 2,000 gph, which made for a perfect fit in this system. Two of the biofilters have my 57-watt, downflow UV lights installed in the downflow pipe inside the filters. Placing the UV lights inside the filters helps hide them in a system where there is little space to hide anything and keeps the electrical system located high on the hill near the house.
Bruce wasn’t sure his upper drain was working, so we took a brush, stirred up some debris around the drain dome and watched it flow through the outlet at the top of the falls. It took Bruce two years and a lot of work, but he got it running just in time for his daughter’s wedding at his home. I’ve helped many DIY-ers in the past, but because of his attention to detail, I think this is one of the best.